
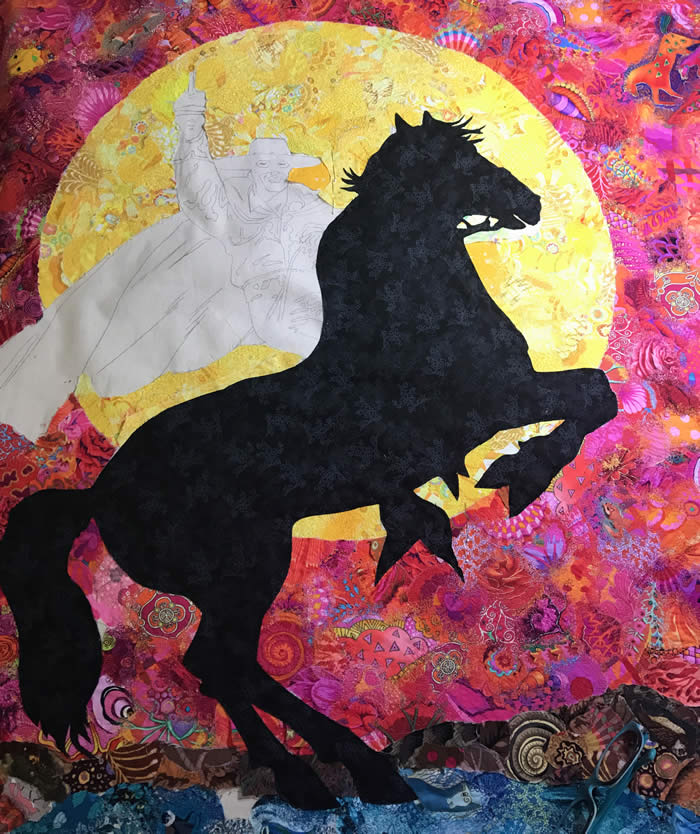
ZORRO – Part 2

Once all of the fabrics were tacked down, I began thread-painting. I inserted a Superior topstitch needle 90/14 with Aurifil 50 wt. on the top and Aurifil 40 wt. in the bobbin. The fabric was then secured into a wooden embroidery hoop to keep everything taught and smooth. I worked in small sections over the entire background stopping to press often as I stitched across the background.
To learn more about this technique please see my step-by-step thread-painting recorded demonstration.
Once the background was completed, I stitched a black outline around the moon using 1/4” ribbon.
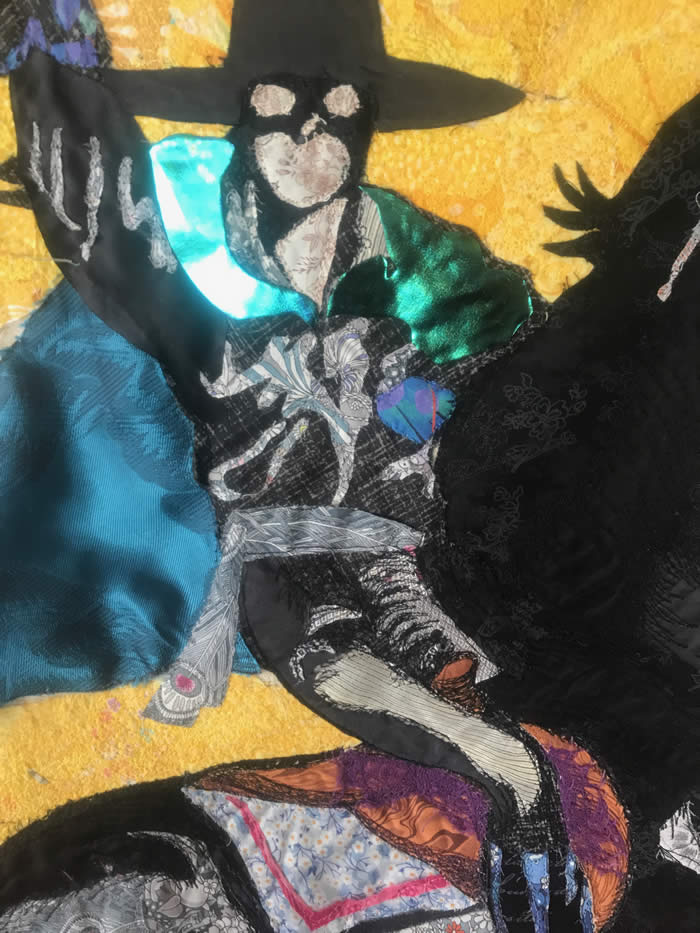
Next, I moved onto the middle ground—Tornado. Using my template, I cut out the entire horse onto one piece of black-on-black fabric. I chose this knowing when the light hit the illustration, it would have interest instead of a flat black. Next, I stitched it into place.
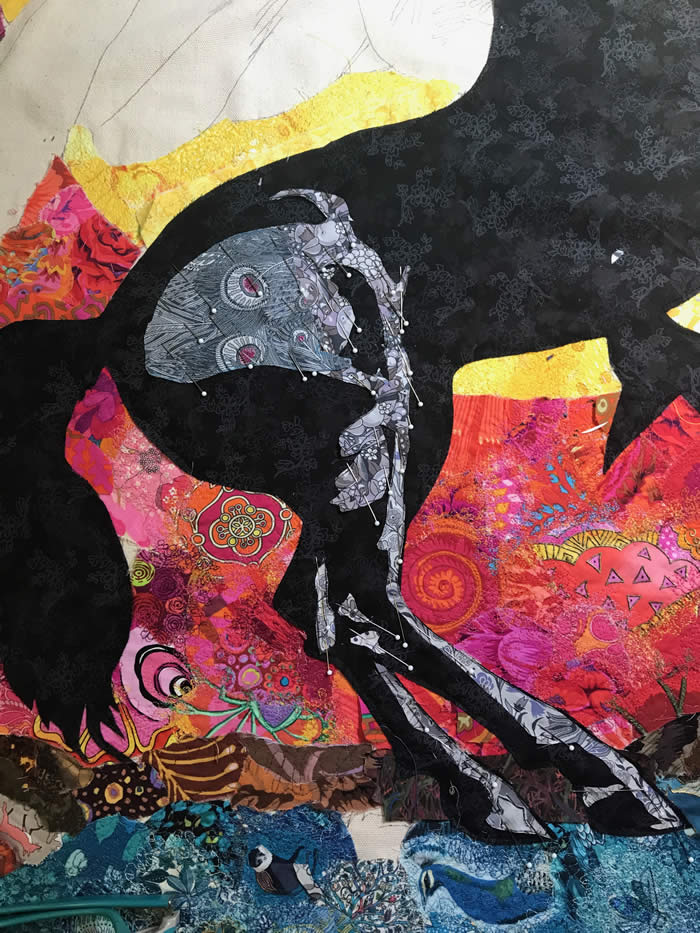
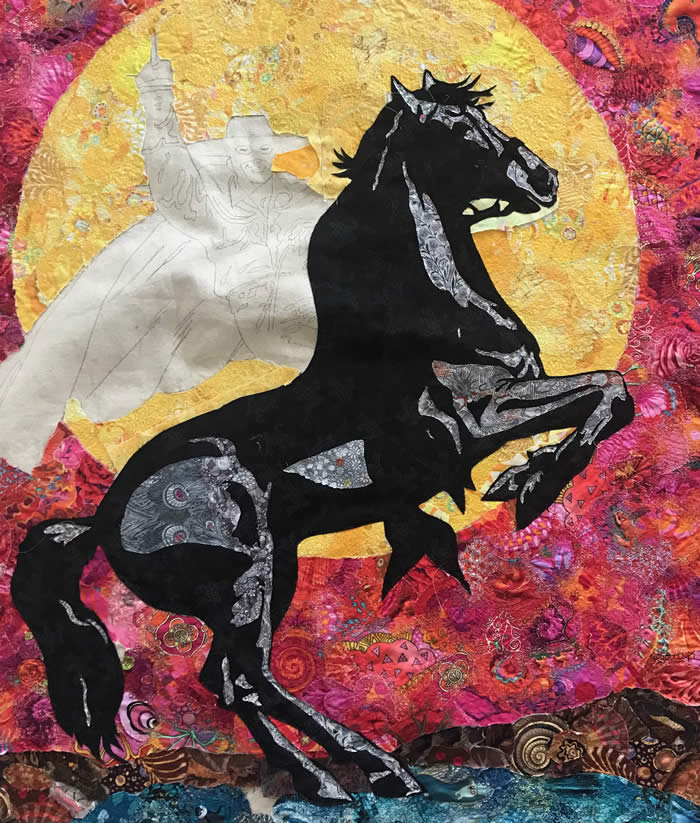
The highlights on the horse were created using various prints in a medium gray. They’re a very thin Tana lawn cotton by Liberty of London fabrics, which I don’t recommend as they are very expensive and I was in one of my “shop til’ you drop” phases…I’m over it now. Once they were pinned, I stitched them into place with matching threads on the top and in the bobbin.
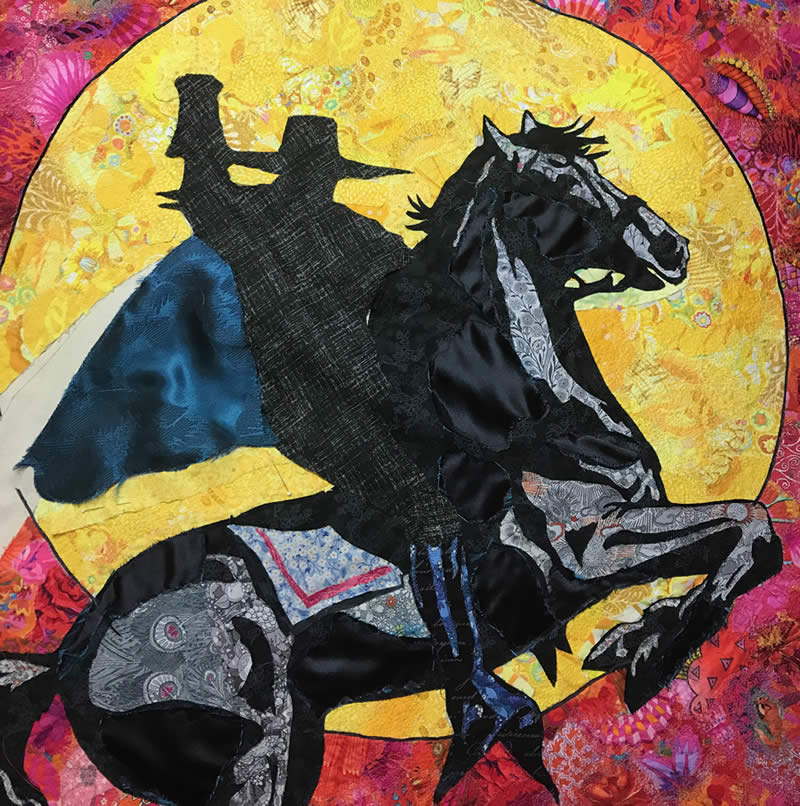
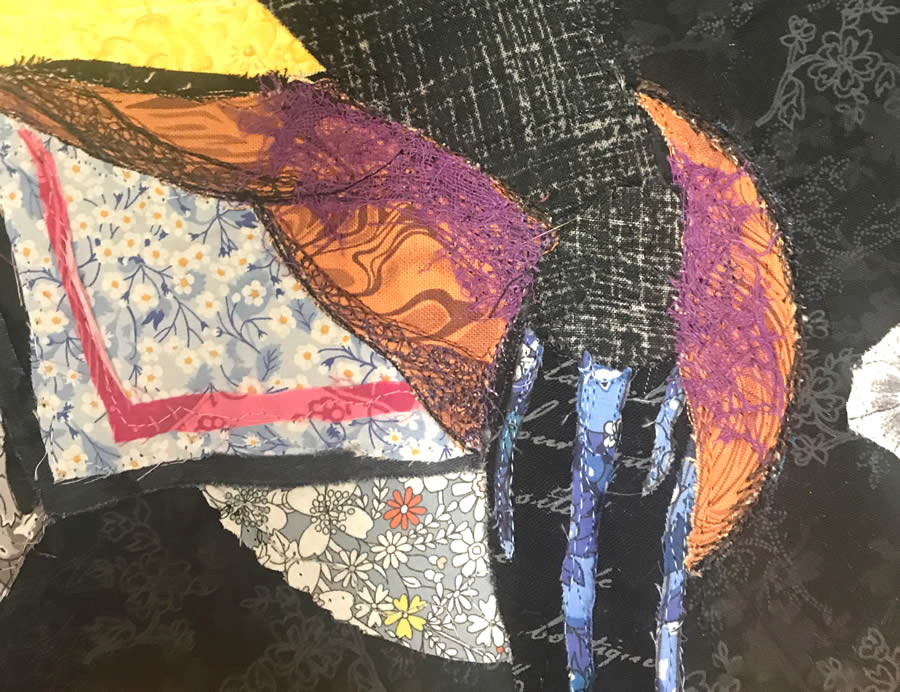
Once it was stitched, I added the brown saddle. Dyed purple cheesecloth was laid over the saddle to indicate the shadow. This is a wonderful textile that can be used to soften edges. I purchase mine on Etsy in all colors, but they can also be hand-dyed if you are crafty.

For the lining of the cape, I chose a shiny embossed satin. It’s a delicate fabric and frays easily, so I added a bit of liquid Fray Check to keep the edges as crisp as possible. Each piece was pinned and stitched one-by-one.
To be continued…
